
Being Seen - the Expo
Yesterday my expo “Gezien Worden” (Being Seen) officially opened. It was a wonderful evening and I still have a lot to process so there will be more about this later. For now, I just want to share some pictures of the opening night and more info on the expo.
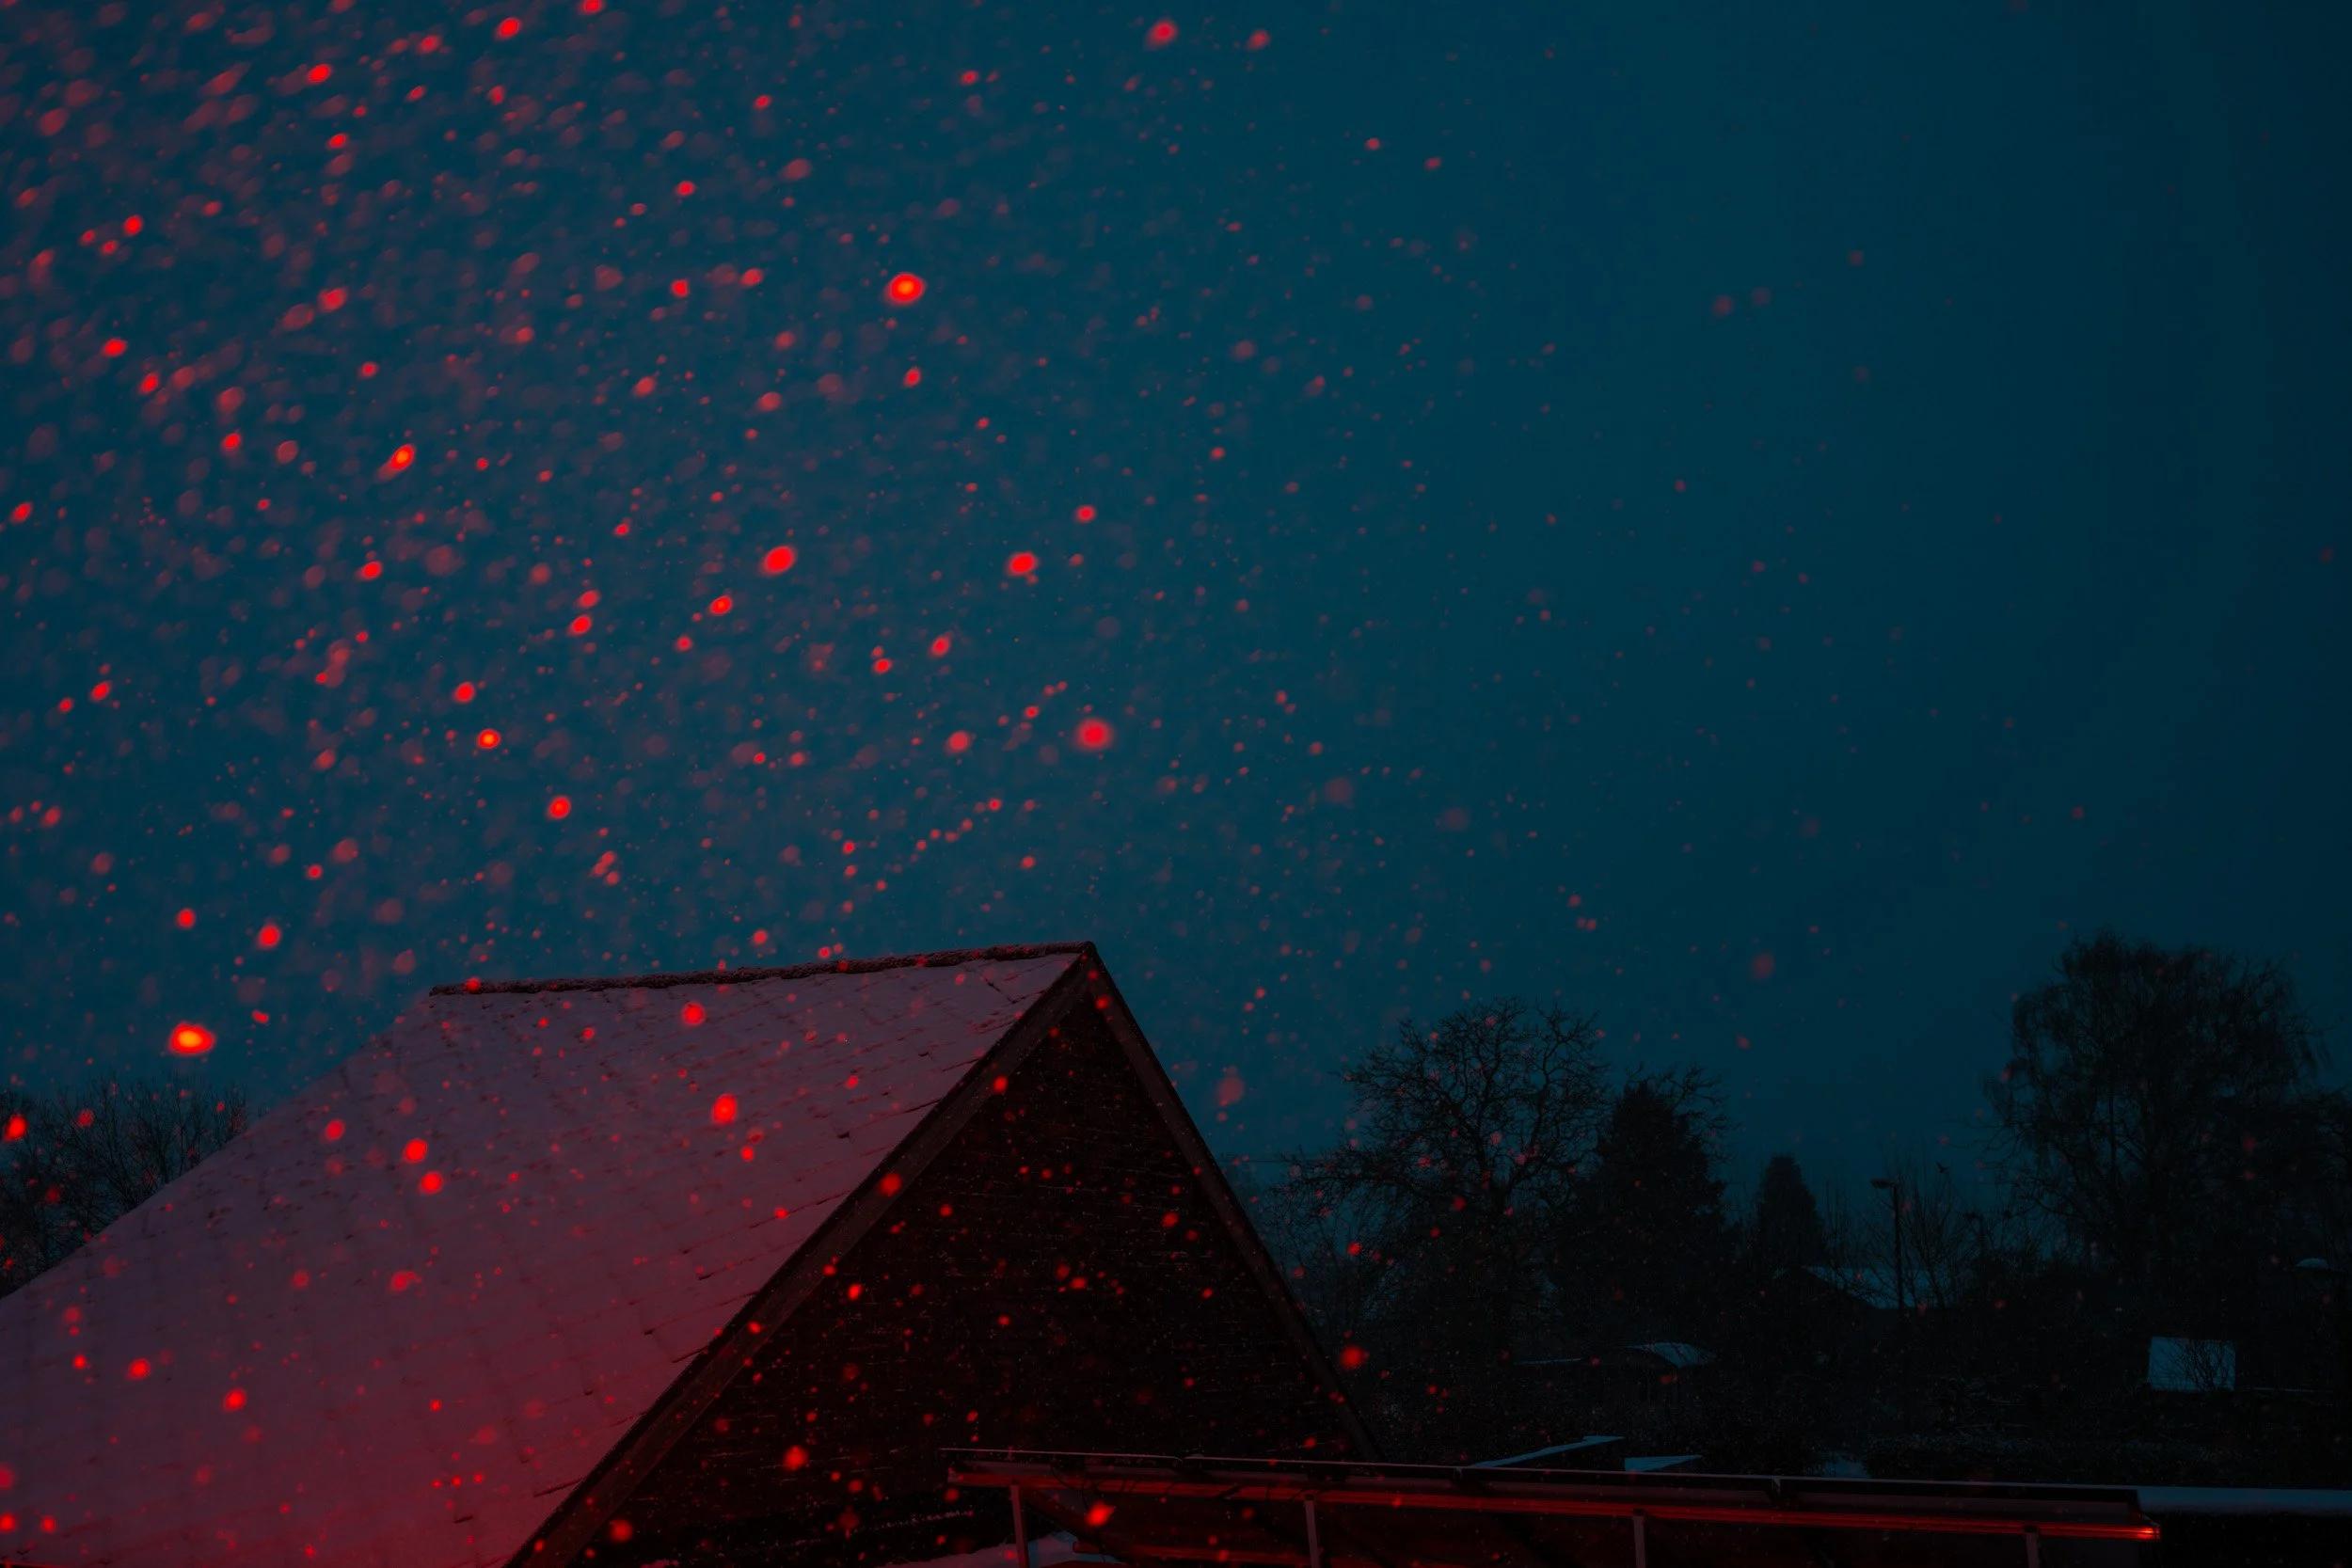
Between Solid and Liquid
I’m not a big fan of rain, but when that rain turns into its solid state, it becomes magical fairy dust.
Maybe it’s because we don’t get much snow, and when we do, you never know how long it will last. But every time that white stuff shows up, I feel the urge to take pictures.
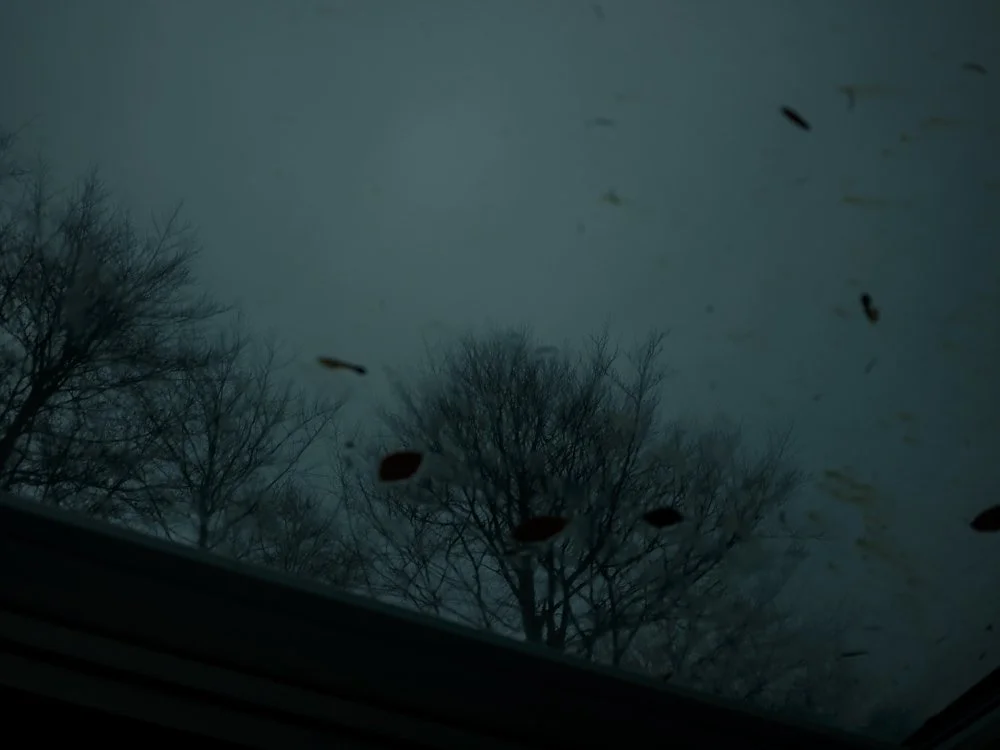
What I Saw When There Was Nothing to See
Four days of nothing-weather, failed landscape plans, amateuristic museums, tiny house coziness, and a handful of snapshots that mattered more than any masterpiece could have. Conneux was exactly the slow reset I needed.

The Painter’s Camera – A Short Encounter with the Fujifilm GFX100RF
I only had the Fujifilm GFX100RF for a couple of days. Not enough time for a technical deep dive, but enough to experience how this camera positively impacted my way of working and seeing

TTartisan 75mm F1.5 Swirly Bokeh
A remake of a classic character king, I just had to test it.

Simera 50mm f/1.4 ASPH
The perfect middle ground between image quality and character? Find out why this has become one of my favorite lenses.


Portraits with the PMI SmokeNINJA PRO Haze Kit
There’s a new version of the Smoke Ninja. It’s just as portable as it’s predecessor and way more powerful.

Lara & Luna
Always great to work with these two. Shot with a combination of modern and vintage lenses.

Thypoch Simera 35mm F1.4 Review
Thypoch is a relative newcomer to the lens market but I’ve been wanting to test out one of their lenses ever since I saw the first samples. Now I got my chance.

Camarades Bikepacking Luxembourg
Friends, gravel bikes and beautiful Luxemburg. What else do you need?

Three Days in Rotterdam
What does a dad do when he’s dragged along for a city trip by three teenage girls … yep, take a bunch of pictures.


Wide Angle Portraits with Lara
Can you use a wide angle lens for portraits? Let’s find out.